Implementing VNet-to-VNet Peering in Azure: A Complete Guide
Tech Enthusiast | 19+ Years in IT | Security, Coding, Trends With over 19 years of experience in the ever-evolving world of Information Technology, I’m passionate about staying ahead of the curve. From mastering secure coding practices to exploring the latest trends in AI, cloud computing, and cybersecurity, my mission is to share valuable insights, practical tips, and the latest industry updates. Whether it's about writing cleaner, more efficient code or enhancing security protocols, I aim to empower developers and IT professionals to excel in their careers while keeping pace with the rapidly changing tech landscape.
Azure Virtual Network (VNet) peering enables seamless connectivity between two VNets using private IP addresses, as if they were on the same network. This allows resources like VMs, databases, or services to communicate across VNets without going over the public internet, providing low-latency, high-bandwidth connectivity.
VNet-to-VNet peering is commonly used for:
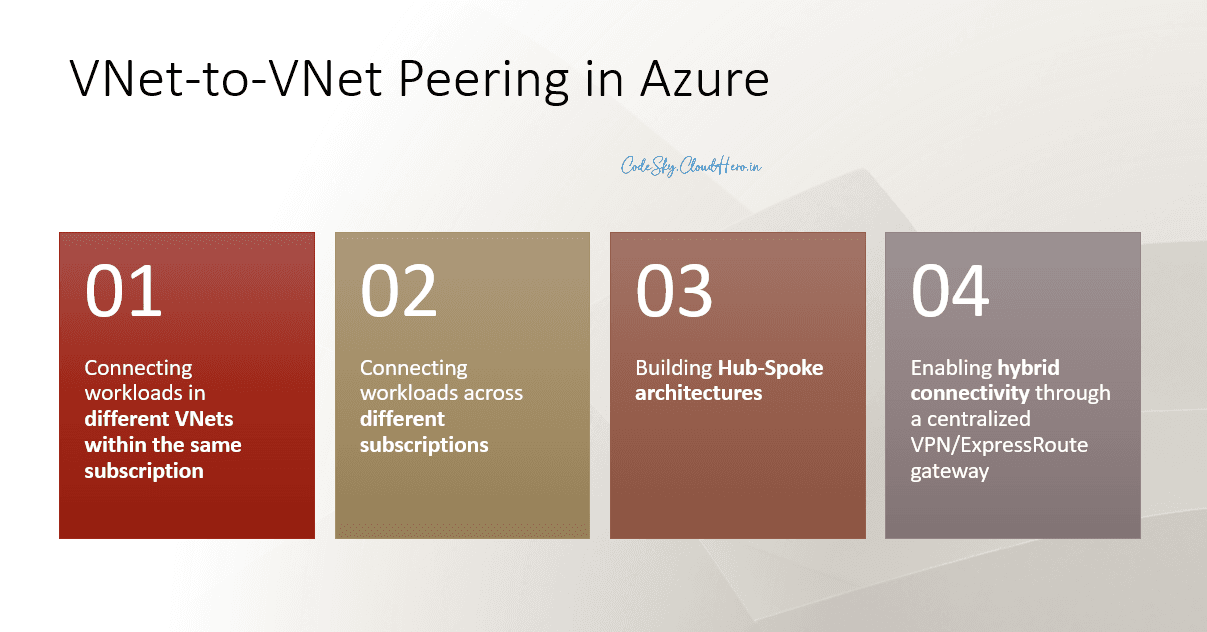
Connecting workloads in different VNets within the same subscription
Connecting workloads across different subscriptions
Building Hub-Spoke architectures
Enabling hybrid connectivity through a centralized VPN/ExpressRoute gateway
🔹 Prerequisites Before Peering
Non-overlapping IP address spaces
Each VNet must have a unique CIDR block. Example:
Hub VNet → 10.0.0.0/16
Spoke VNet → 10.1.0.0/16
Permissions
You need Network Contributor or Owner rights on both VNets.
Cross-subscription peering requires approval from the other subscription.
DNS Considerations
Peered VNets do not resolve private DNS names by default.
Options: Use Azure DNS private zones linked to both VNets or configure custom DNS forwarders.
Plan Gateway Transit (if hybrid connectivity needed)
Hub VNet with VPN/ExpressRoute → Enable Allow Gateway Transit
Spoke VNet → Enable Use Remote Gateway
🔹 Step-by-Step Implementation
Step 1: Create VNets
Hub VNet (shared services, gateway, firewall)
Spoke VNet (workload-specific)
Ensure non-overlapping CIDR ranges
Step 2: Configure Subnets
Hub VNet → subnets for VPN/ExpressRoute, firewall, and applications
Spoke VNet → workload-specific subnets
Step 3: Create Peering from Hub to Spoke
Go to Hub VNet → Peerings → Add
Configure:
Peering link name
Remote VNet → select Spoke
Enable Allow forwarded traffic if using NVAs
Enable Allow gateway transit (if Hub has VPN/ExpressRoute)
Step 4: Create Peering from Spoke to Hub
Go to Spoke VNet → Peerings → Add
Configure:
Peering link name
Remote VNet → Hub
Enable Use remote gateways
Allow forwarded traffic if needed
Step 5: Configure NSGs and Route Tables
Ensure Network Security Groups (NSGs) allow required traffic between VNets
Update User Defined Routes (UDRs) if traffic should flow through firewalls or NVAs
Step 6: Test Connectivity
Deploy VMs in both VNets and ping or use
Test-NetConnectionEnsure workloads can communicate on required ports
🔹 Best Practices
Avoid overlapping IP ranges → Critical for successful peering
Hub-Spoke design → Reduces complexity and prevents “spaghetti networking”
DNS configuration → Use Private DNS zones or custom forwarders
Transitive routing → Peering is non-transitive; use NVAs or Hub for controlled routing
Regional considerations → Intra-region peering is free; cross-region incurs bandwidth cost
Security → Use NSGs, Azure Firewall, or NVAs to restrict traffic as needed
Monitoring & Cost Management → Track cross-region traffic usage
🔹 Common Scenarios
1. Hub-Spoke Architecture
Hub VNet → shared firewall, VPN/ExpressRoute gateway
Spokes → isolated workloads
Benefits: scalable, secure, and centrally managed
2. Cross-Subscription Peering
Useful for multi-team or multi-department setups
Requires approval from the remote subscription
Same principles as standard peering, with attention to permissions
3. Hybrid Connectivity
Spokes use Hub’s VPN or ExpressRoute gateway
Reduces duplication of expensive network resources
🔹 Diagram Example
       [ Hub VNet ]
     /       |       \
    /        |        \
[Spoke1]  [Spoke2]  [Spoke3]
     \       |       /
      \      |      /
        VPN / ExpressRoute
             |
        On-Premises
All spokes connect to the Hub
Hub provides shared services, security, and hybrid connectivity
Peering ensures low-latency communication
🔹 Final Thoughts
VNet-to-VNet peering is a powerful tool for connecting workloads securely and efficiently in Azure. By following these steps and best practices, you can:
Achieve low-latency connectivity
Maintain network security and governance
Optimize costs and simplify management
Avoid common pitfalls like overlapping IPs or misconfigured gateways
Peering, when combined with Hub-Spoke architecture, is the backbone of scalable, enterprise-grade Azure networking.