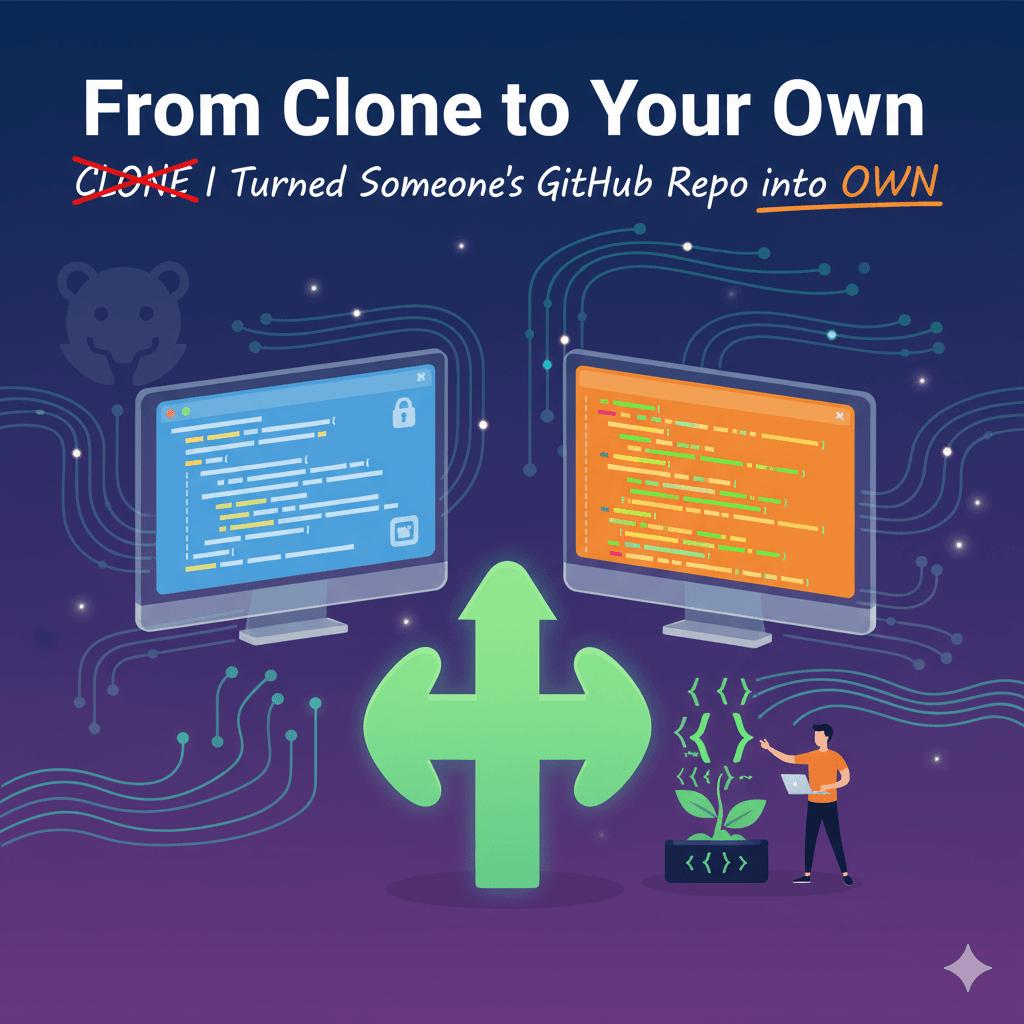
From Clone to Your Own — How I Turned Someone’s GitHub Repo into Mine
Tech Enthusiast | 19+ Years in IT | Security, Coding, Trends With over 19 years of experience in the ever-evolving world of Information Technology, I’m passionate about staying ahead of the curve. From mastering secure coding practices to exploring the latest trends in AI, cloud computing, and cybersecurity, my mission is to share valuable insights, practical tips, and the latest industry updates. Whether it's about writing cleaner, more efficient code or enhancing security protocols, I aim to empower developers and IT professionals to excel in their careers while keeping pace with the rapidly changing tech landscape.
Have you ever found an awesome GitHub project that you wanted to explore, improve, or make your own version of?
That happened to me recently. I cloned someone’s repository into my VS Code setup, made some cool changes…
and then realized — “Wait! If I push this, it’ll affect their repo!” 😅
So I needed a clean way to keep all my changes in my own GitHub repository without messing up the original one.
If you’ve ever been there — don’t worry. Follow these simple steps, and you’ll have your own version up and running in no time 🚀
🧭 Step 1: Clone the Repository
First, clone the original repository you liked:
git clone https://github.com/originaluser/their-repo.git
Open it in VS Code:
cd their-repo
code .
Now you can explore the project, modify it, and make it truly yours!
🧹 Step 2: Disconnect from the Original Repo
By default, your cloned folder is still linked to the original repo (called origin).
Let’s break that link:
git remote remove origin
To confirm it’s gone:
git remote -v
It should show nothing — that means your local copy is now independent.
🧱 Step 3: Create Your Own Repo on GitHub
Go to 👉 https://github.com/new
Give it a name (say,
myproject)Keep it empty (no README or .gitignore)
Click Create repository
You’ll now see instructions like this:
git remote add origin https://github.com/yourusername/myproject.git
git branch -M main
git push -u origin main
We’ll use those next.
🔗 Step 4: Connect to Your New Repo
Back in VS Code terminal:
git remote add origin https://github.com/yourusername/myproject.git
git branch -M main
Now your local folder is linked to your own GitHub repository.
🚀 Step 5: Push the Code to Your Repo
If you try to push and see this:
remote: Invalid username or token.
fatal: Authentication failed
Don’t worry — GitHub now uses Personal Access Tokens (PATs) instead of passwords.
Go to
👉 https://github.com/settings/tokens
Create a new token with:
repopermissionCopy the token and use it as your password when Git asks.
Then push:
git push -u origin main
✅ Done! You now have your own independent copy of the project on GitHub.
🧭 Bonus Tip: Keep the Original Repo as “Upstream” (Optional)
If you want to occasionally pull updates from the original project:
git remote add upstream https://github.com/originaluser/their-repo.git
git fetch upstream
git merge upstream/main
That way, you stay up to date without losing your changes.
🎉 That’s It!
And that’s how I took someone’s repo, learned from it, customized it, and made it mine — safely and cleanly.
Whether you’re experimenting, learning, or building something new, this small workflow makes a big difference.
So go ahead — explore, clone, create, and share your own version with the world 🌍💡
💬 What’s next?
You can now:
Update your
README.mdwith your own name and purposeAdd a license if it’s your new project
Continue committing and pushing your updates confidently